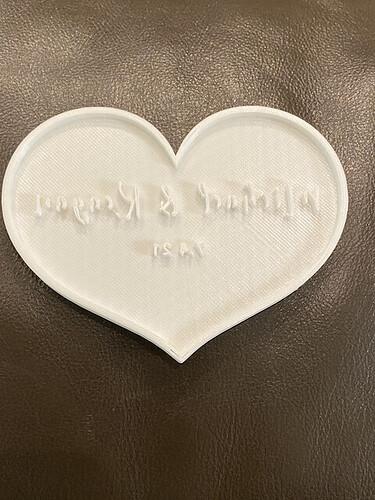
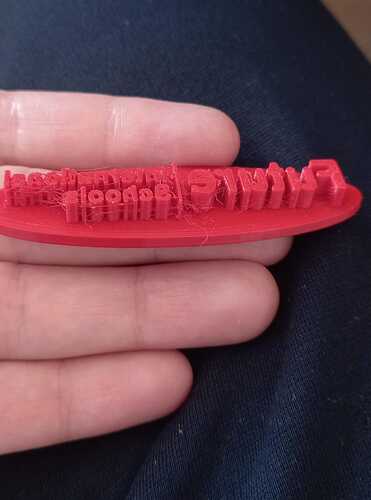
I’m trying to make a stamp of a couples’ names and the wedding date. It all looks fine in photoshop and in my slicer (Simplify 3D, and I also tried it in Cura - appears to be the same thing). Unfortunately, when I print it, the tops and bottoms of the letters don’t print (and also the top layers) - and I can’t figure out why - it’s driving me crazy!! Here’s the actual stamp (I know, I forgot to remove the outline), but also, I also have photos of the preview of the print in the slicing program and what I uploaded but this forum will only let me add one photo…
!
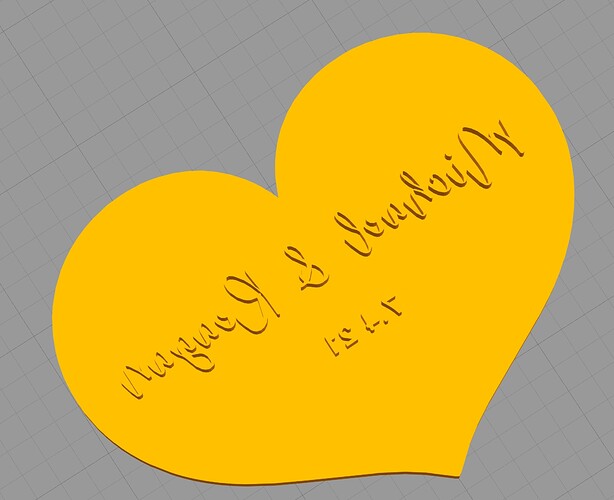
This is what the file looked like uploaded before slicing:
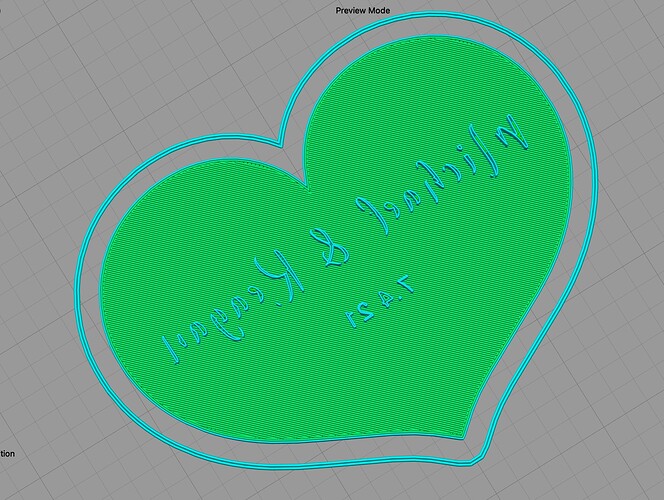
After slicing - looks like this:
Could there be a detect thin walls setting that may need to be turned on? I know with thin fonts sometimes that needs to be done.
The letters are too thin to slice/print with your nozzle size. Make it thicker by using experimental settings → thicken interior features in Cookiecad. I’ve found 0.3 mm usually makes it printable but perhaps you could do a little less if that is too thick.
And like @kristi.bundick said, make sure you have detect thin walls or print thin walls turned on in your slicer.
Thanks for y’all’s suggestions - I messed around with those settings and never got a good result with that font - so I switched to a “cleaner” font and got something I can work with. I’m going to keep working on this issue
1 Like
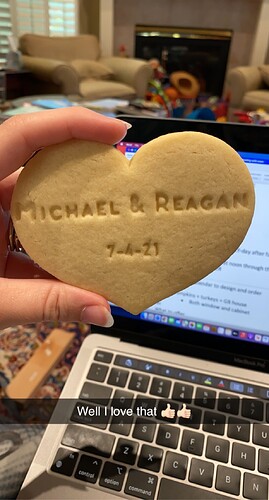
i am very happy
but next time t I will make distance between alphapet
1 Like
hi Julie, I have recently found out that to do thin writing like this i had to use a .2 nozzle as the .4 was to thick, but if you do get a.2 nozzle you need to change it in your settings from a .4 to a .2
1 Like
Hi, Debbie…Can you share the settings you use in .2mm nozzle? THanks in advance
Hi,
Same settings as .4mm my speed is 60, just remember to change in your setting to a .2