This guide will teach you how to create a cookie cutter / clay cutter with a center cutout such as a doughnut, a letter A or number 0.
Step by step instructions:
-
Upload a filled in black image with white holes where you want the center cutout to be. Do not use a line drawing. See below:
-
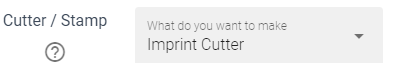
Under “what do you want to make”, Select “cutter + imprint”.
-
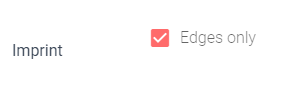
Check the “edges only” box
-
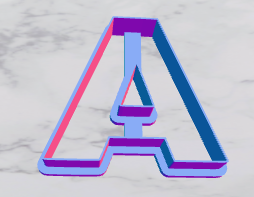
Add a horizontal or vertical center bar. If the center bar is not connecting your floating pieces, increase the size of the bar until it does.


Explanation of edges only: If you are looking to understand exactly what edges only does read on. Cookiecad has two ways of creating imprint lines. The default is to raise all the imprint lines, exactly as they are in the image, whether thick or thin. In both images below the black lines are turned into imprint lines, with the same thickness as they were in the original images:

This works greats for embossers/debossers. However, a center cutout should have a blade with consistent thickness, the same as the outer blade. So using the thickness of the lines in the image doesn’t work well. For center cutouts we have an imprint option called “edges only”. Instead of raising the entire imprint, this will trace along the edge of the imprint and create a new blade.
For “edges only” you need to use a black image with a white hole where you want the center cut out to be. Cookiecad will trace the edge of the white hole to make your cutout blade.
Line drawings will cause a double blade when used with “edges only”. This is because Cookiecad will trace along the inside and outside of the line.
