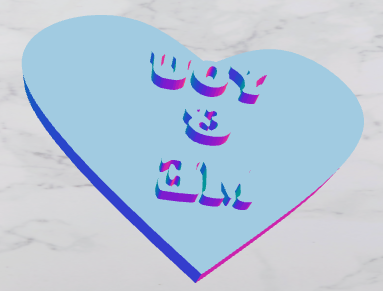
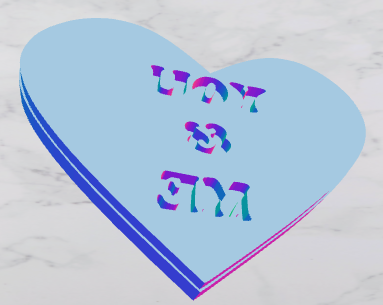
Step 1) create an image with the text you want and put an outline around it, for example a circle, square or any shape you like. If you plan to make a cutter + stamp them the outline should be the shape you want to cut out. Here I drew a heart with text inside:

Step 2) Upload your image to app.cookiecad.com.
- In the “what do you want to make” dropdown select “Cutter + Stamp” or “Stamp”.
- In the stamp settings check “Delete outer edge”. This will remove the outer edge from your stamp leaving only the letters.

This will create a debosser. If you want to create an embosser, uncheck “Delete outer edge” and, under experimental settings click “Invert interior”. This will invert your debosser and create an embosser.

That’s it! Print it and post photos or feedback below. Happy stamping.
3 Likes
Woo hoo!!! thanks for adding the Delete Outer Edge button, GAME CHANGER!!! Thankyou!!
2 Likes
Awesome feature guys thanks so much!
3 Likes
2 posts were merged into an existing topic: Embosser/Debosser not working like it was
This didn’t work for me. The debosser shows the words I want but they are not raised. Is there a specific number that should be put into the Imprint Thickness? When I did the steps to invert for an embosser it didn’t print out anything, just a smooth surface. I am using Silhouette studio to make the words, turning the letters black as well as the outline (circle), grouping them together, saving as a jpeg and then bringing that into cookie cad. Hoping someone can steer me in the right direction.
Is your image a black outline and black letters like the image above? If so the letters should be raised. Can you share the image, or the link to the cutter? You can click share next to download.
Thank you for the instructions! My letters were almost hairy with extra filament, I tried my tiny dremel to removed some but it still wasn’t clean. Any ideas what could be wrong?


